I drew the outline on Glad Bake. It's not that clear on my tablecloth. The main thing is that whatever you draw, you need to remember that the limbs can't be too skinny because you lose a quarter inch in seam allowance all the way around.


I drew a body, a claw type arm and an ear.
You need to cut 2 bodies, 4 arms and 4 ears.


Place the back body on the table with the right side facing up.
Place the arms and ears on the body facing inwards so that the edges stick out of the seams. You can see my ears sticking out of the top of the head. The arms' ends are sticking out of the shoulders.
Place the front part of the body on top with the good side facing inwards.
I flipped the edge over to show you the arms inside.
Pin everything into position.
If you are sure everything is in the right place make the stitch length on the sewing machine really small as it makes the seams stronger.
If you forget to put in your ears, like I did the first time around, it's a killer to unpick.
I usually start sewing about 3cm under the armpit, going over the first arm, around the head, catching the ears, over the next arm, around the legs and up to the ankle of the second leg.
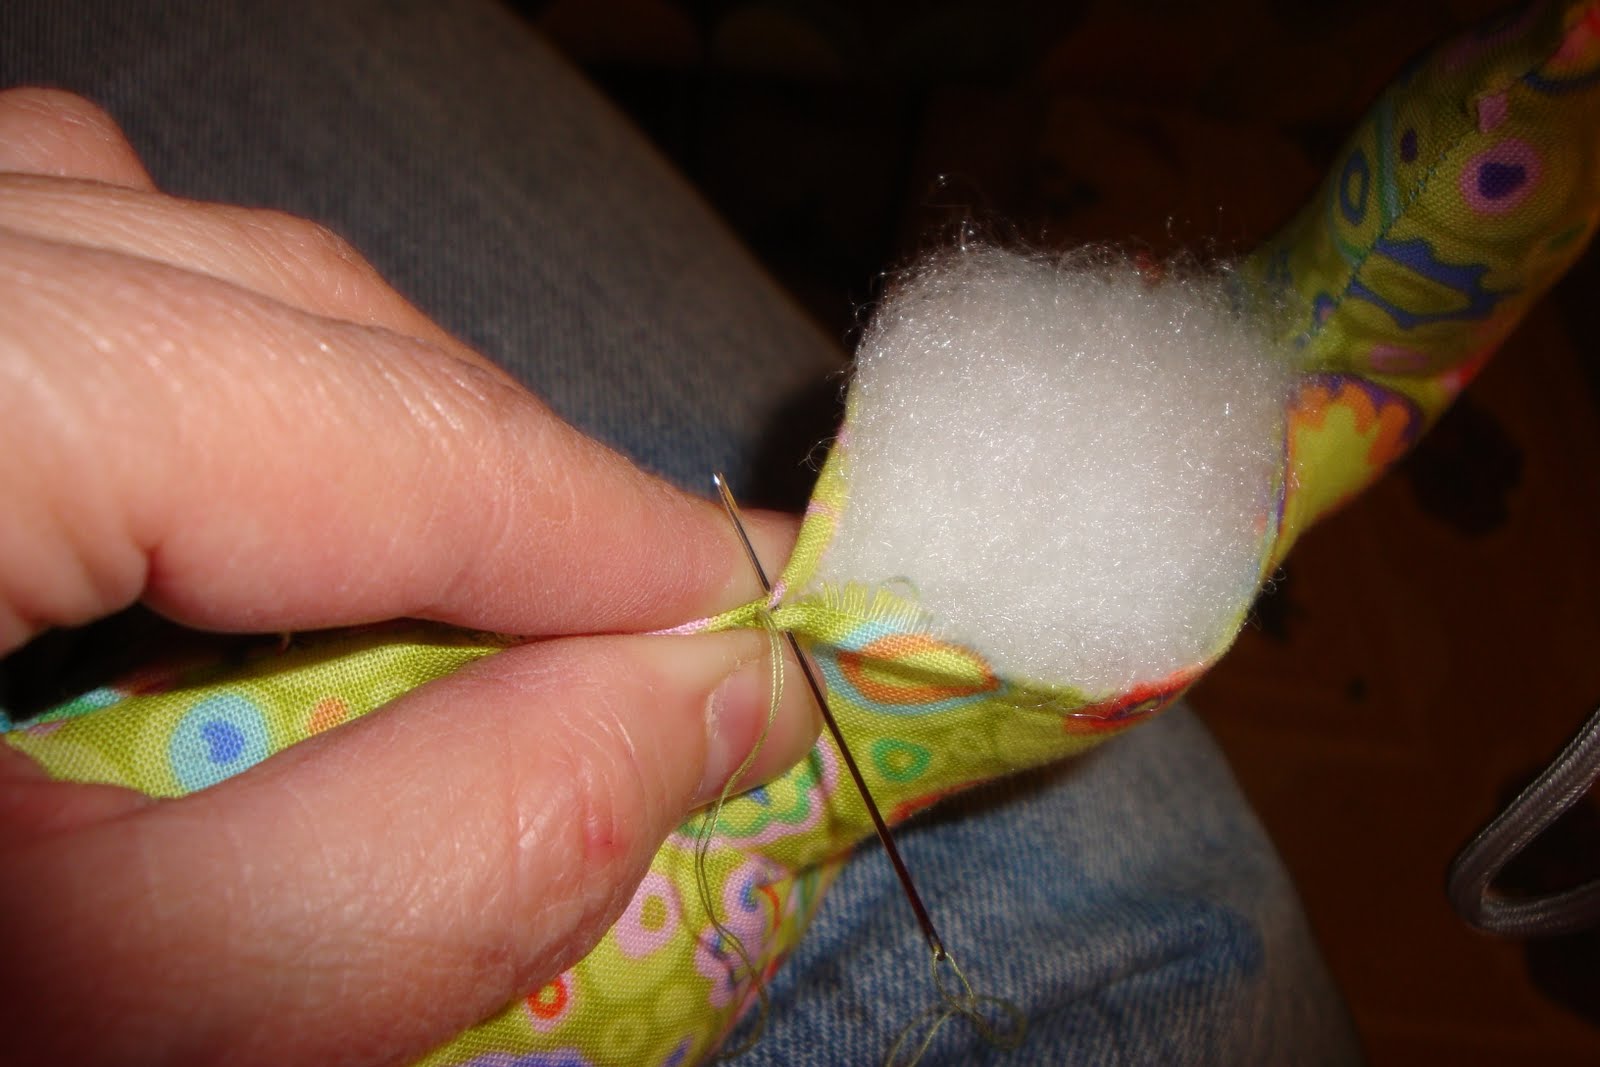
Stop, leaving about 6-8cm open to turn the toy around. Double back on the sewing machine because it strengthens the edge. When you turn the toy around it really pulls hard on the seams.

Here it is turned around the right way. It looks like a lamb! Oh well - not what I had expected. One leg is skinnier than the other but that is the fun of all this. You never can really plan something totally. On the right side of the photo the seam is open on the leg.

I sewed the ears down so the pink is showing.
Not my best work but it kept me amused while the boys watched the footy this Saturday night.


Hi Meli. Great to see another of your creations and also the technique of bring it all together from concept to final softie. It's a great instructional tutorial - thanks.
ReplyDeleteLoving your quilts too.
Oh, he's a sweetie. Sort of looks like he needs a cuddle.
ReplyDeleteIs that a Kaffe fabric?
coach factory outlet
ReplyDeletechaussures louboutin
louis vuitton purses
ray ban sunglasses
adidas nmd
pandora jewelry
vans store
polo ralph lauren
asics shoes
steelers jerseys
20175.10chenjinyan