After machine quilting all day I needed a change so I started to make a new softie without much of a plan.
I drew the outline on Glad Bake. It's not that clear on my tablecloth. The main thing is that whatever you draw, you need to remember that the limbs can't be too skinny because you lose a quarter inch in seam allowance all the way around.

I drew a body, a claw type arm and an ear.
You need to cut 2 bodies, 4 arms and 4 ears.
The material has to be laid back to back. I chose to do the inside of the ears a different colour to the outside.
Once the shapes are cut out it's is a good idea to iron them. I also cut out a piece of felt for the face.
Sew the face on with 2 strands of stranded cotton. You can use running stitch for the outside and for the main features I usually use running stitch or split stitch. I added felt cheeks and lips and goggly eyes which I bought from Spotlight.
Sew up the arms - with fabric right side facing. Snip the corners as it helps when you turn the pieces around to the right side. I always check the front and back of my sewing as sometimes I miss an edge and it is not sewn in properly. Turn the arms around the right way and stuff them. If you are stuffing ears or feet, do the same for all of them.
This is the bit I messed up and had to fix. Take the main body of your softie.
Place the back body on the table with the right side facing up.
Place the arms and ears on the body facing inwards so that the edges stick out of the seams. You can see my ears sticking out of the top of the head. The arms' ends are sticking out of the shoulders.
Place the front part of the body on top with the good side facing inwards.
I flipped the edge over to show you the arms inside.
Pin everything into position.
If you are sure everything is in the right place make the stitch length on the sewing machine really small as it makes the seams stronger.
If you forget to put in your ears, like I did the first time around, it's a killer to unpick.
I usually start sewing about 3cm under the armpit, going over the first arm, around the head, catching the ears, over the next arm, around the legs and up to the ankle of the second leg.
Stop, leaving about 6-8cm open to turn the toy around. Double back on the sewing machine because it strengthens the edge. When you turn the toy around it really pulls hard on the seams.
Here it is turned around the right way. It looks like a lamb! Oh well - not what I had expected. One leg is skinnier than the other but that is the fun of all this. You never can really plan something totally. On the right side of the photo the seam is open on the leg.
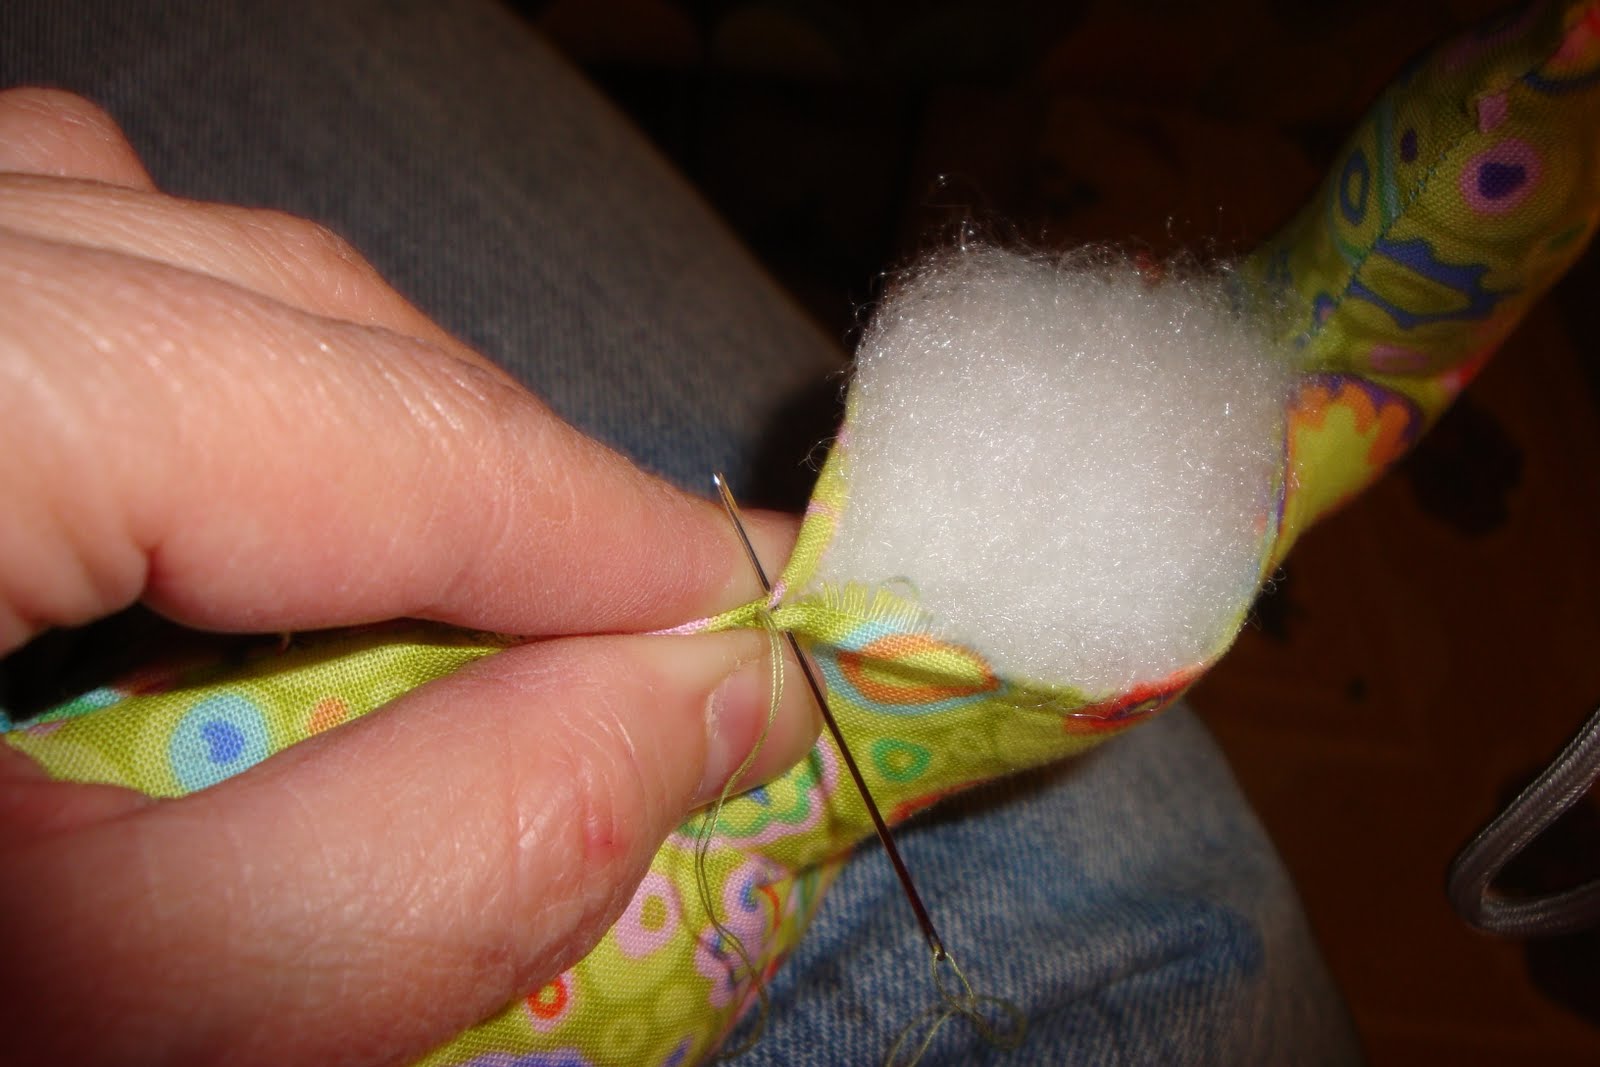
Pinch the seam together and try to roll the edges in as you slip stitch it closed. I had to continue stuffing the legs as I made the hole smaller. I use a plastic chopstick to do it. I tried a bamboo skewer once but it kept poking holes in the fabric. The chopstick has a round edge, is really strong and not too thin so it actually can push the polyfil in.
I sewed the ears down so the pink is showing.
Not my best work but it kept me amused while the boys watched the footy this Saturday night.